Cloudflare is a powerful content delivery network (CDN) that enhances website security, performance, and reliability. By adding your website to Cloudflare, you can benefit from faster loading times, DDoS protection, and automatic SSL encryption.
In this guide, you’ll learn:
- How to add your domain to Cloudflare
- How to configure DNS settings
- How to update nameservers for your domain
Prerequisites
Before starting, ensure you have:
- A YesDomain account
- Access to your domain’s DNS settings
- A Cloudflare account (create one at Cloudflare)
Step 1: Adding a Website to Cloudflare
Follow these steps to add your website to Cloudflare:
1.) Sign up or log in to your Cloudflare account at Cloudflare.com.

2.) Click on Add Site and enter your domain name (e.g., yourdomain.com), then click Continue.

3.) Choose the Free Plan (or a premium plan if needed) and click Continue.

4.) Cloudflare will automatically scan and list your DNS records. Review them and ensure they are correct.
- If some DNS records are missing, manually add them by clicking Add Record.
- You can find your DNS records in the YesDomain DNS Management section.

5.) Click Continue once all records are verified.

6.) Click Copy Nameserver Button , Cloudflare will provide two random Nameservers to which you need to point your domain name. Please copy these two Nameservers now, as we will update them in your domain later, and once updated, your domain will become active on Cloudflare.

Step 2: Updating Domain Nameservers to Cloudflare
Now, you need to point your domain to Cloudflare by updating its nameservers:
- 1.) Log in to your YesDomain Client Area.
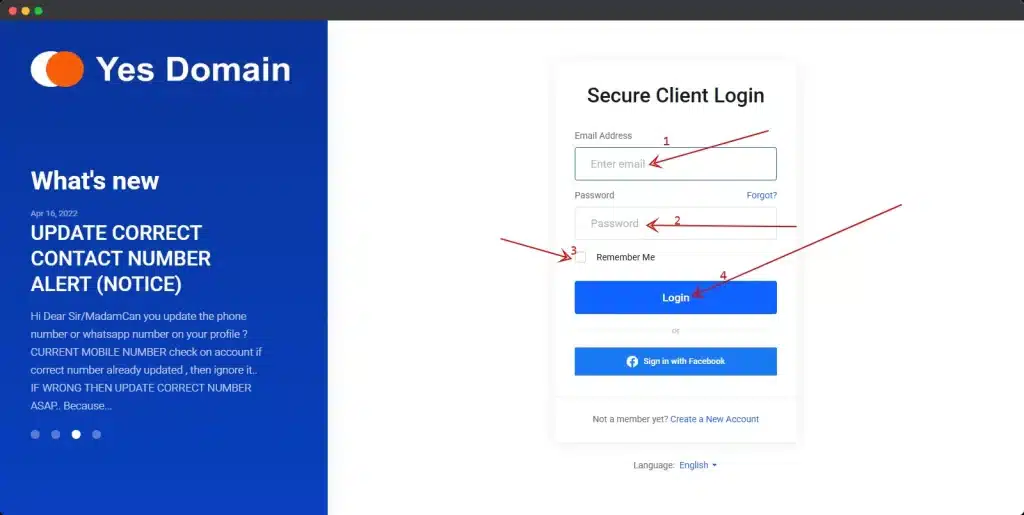
- 2.) Navigate to Domains > My Domains and select the domain you want to connect to Cloudflare.

- 3.) Click on the Nameservers option.

- 4.) Remove existing nameservers and enter the Cloudflare-assigned nameservers.
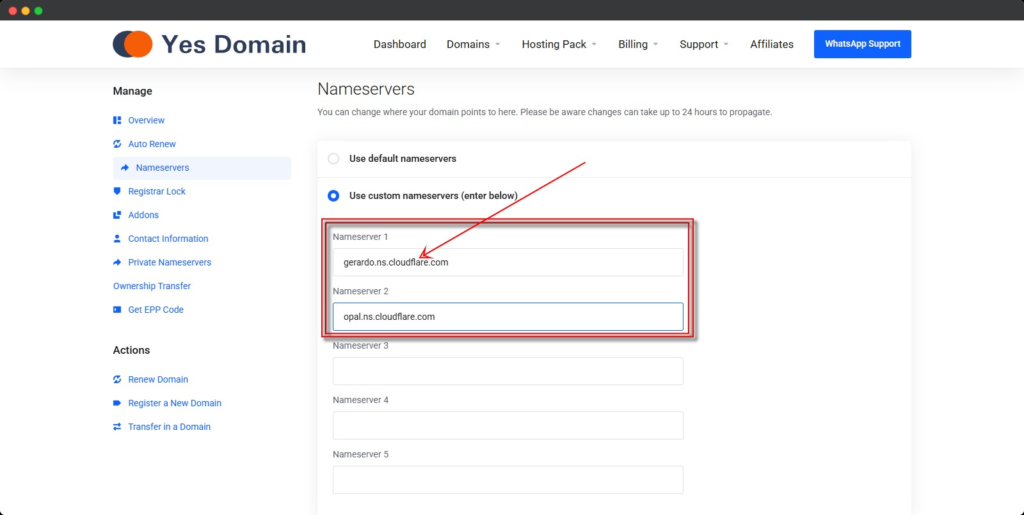
- 5.) Click Save Changes.

Note: DNS changes can take up to 48 hours to fully propagate worldwide.
Step 3: Verifying Cloudflare Setup
Once you’ve updated the nameservers:
- Return to your Cloudflare dashboard.
- Click Check Nameservers to verify the update.
- If successful, your domain will now be active on Cloudflare, and you’ll see a confirmation message.

Frequently Asked Questions
Q1: How long does it take for Cloudflare to activate my website?
A1: DNS propagation usually takes a few hours but can take up to 48 hours.
Q2: Will my website experience downtime while switching to Cloudflare?
A2: No, if DNS records are correctly configured, your website will remain online.
Q3: What if Cloudflare doesn’t detect my DNS records automatically?
A3: You can manually add them using the DNS > Records section in Cloudflare.
Related Articles
- How to Configure DNS Records in YesDomain
- How to Enable Free SSL on Cloudflare
- Understanding Cloudflare Security Settings
Next Steps
Now that your website is connected to Cloudflare, you can:
- Enable SSL for secure HTTPS connections
- Set up caching rules for faster performance
- Configure security settings to prevent attacks
For any assistance, contact YesDomain support